> ## Documentation Index
> Fetch the complete documentation index at: https://extension.js.org/llms.txt
> Use this file to discover all available pages before exploring further.
# 在浏览器扩展中使用 Node API
> 优先使用浏览器原生 API,仅在需要时按需对 Node 核心模块打 polyfill。Extension.js 默认以浏览器运行时为目标。
Extension.js 默认以浏览器运行时为目标,不会自动给 Node 核心模块打 polyfill,从而把包体积保持在小范围。如果你的依赖去引用 `buffer`、`stream` 或 `crypto`,构建时就会看到解析错误。下面会说明什么时候该加 polyfill,什么时候应选择浏览器原生的替代方案。
## 什么场景适合用 Node polyfill
* 必需的依赖在浏览器运行时里需要 Node 核心模块。
* 你正在把代码从以 Node 为中心的包逐步迁移过来。
* 为了得到某些运行时能力,你可以接受更大的包体积。
## 模板示例
### `new-typescript`
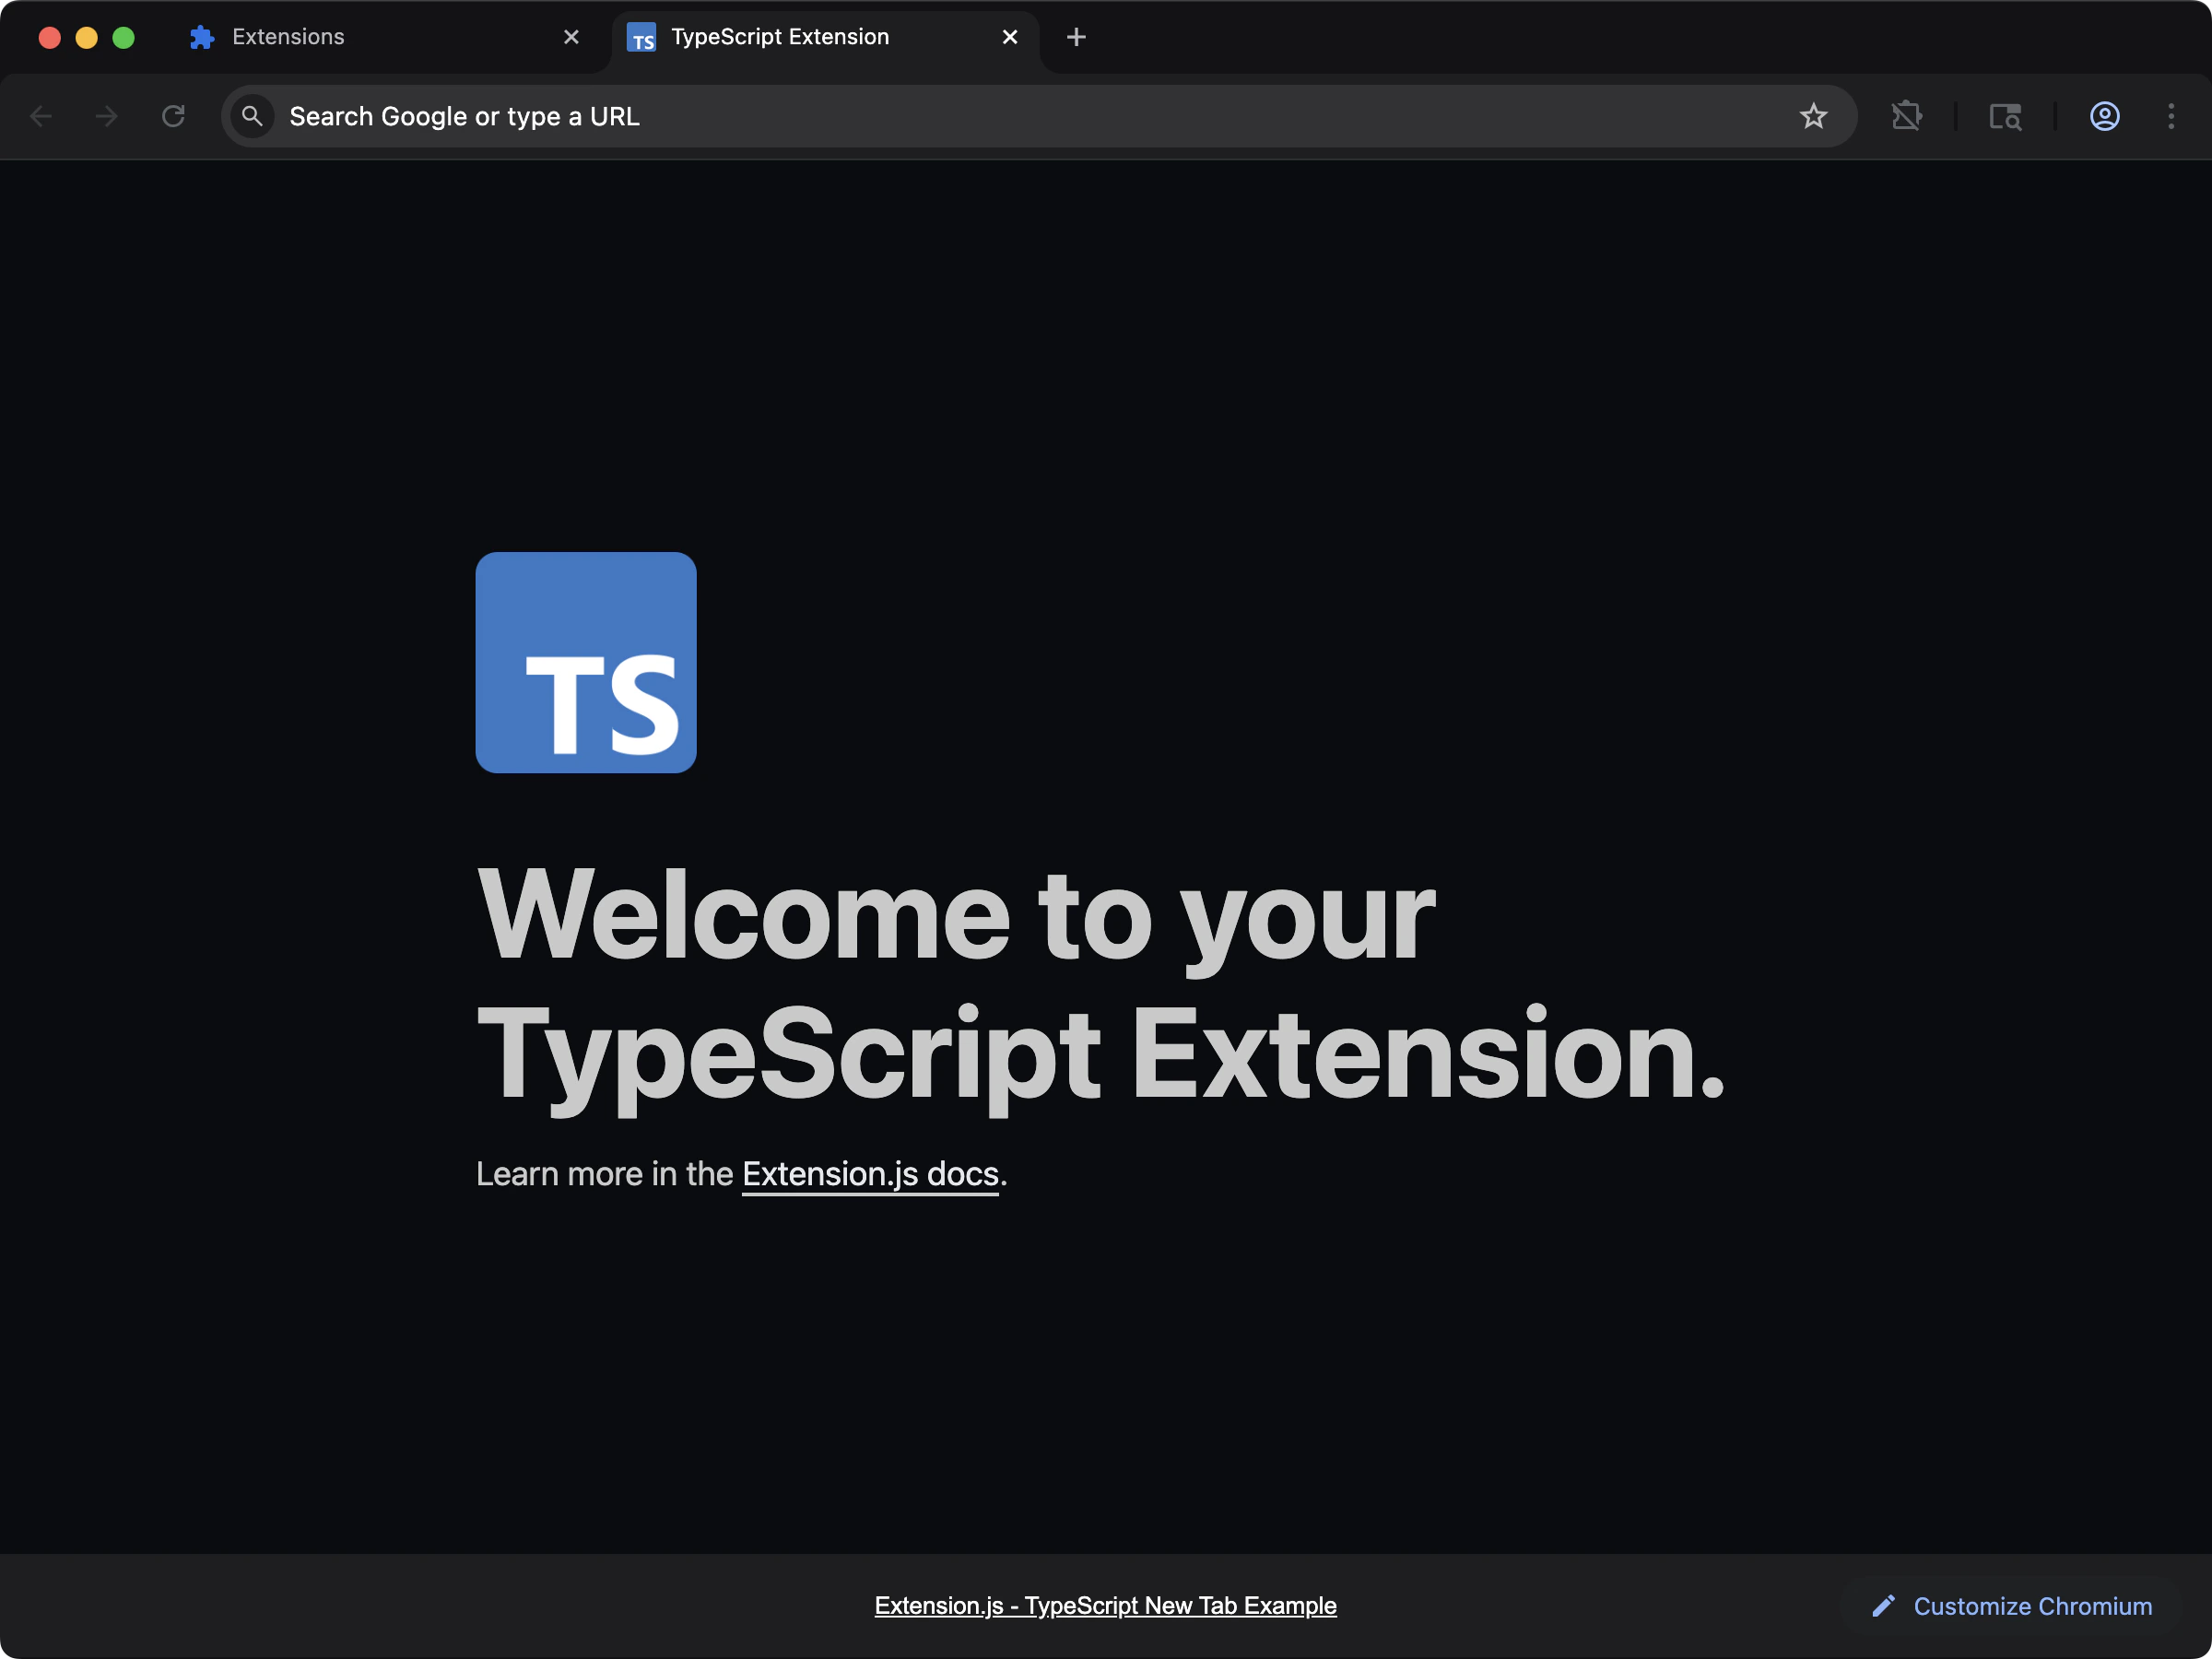 当扩展需要显式调整打包器/polyfill 时,从 TypeScript 的基准模板开始。
```bash npm theme={null}
npx extension@latest create my-extension --template=new-typescript
```
```bash pnpm theme={null}
pnpx extension@latest create my-extension --template=new-typescript
```
```bash yarn theme={null}
yarn dlx extension@latest create my-extension --template=new-typescript
```
```bash bun theme={null}
bunx extension@latest create my-extension --template=new-typescript
```
```bash bun theme={null}
bunx extension@latest create my-extension --template=new-typescript
```
仓库:[extension-js/examples/new-typescript](https://github.com/extension-js/examples/tree/main/examples/new-typescript)
### `content-typescript`
当扩展需要显式调整打包器/polyfill 时,从 TypeScript 的基准模板开始。
```bash npm theme={null}
npx extension@latest create my-extension --template=new-typescript
```
```bash pnpm theme={null}
pnpx extension@latest create my-extension --template=new-typescript
```
```bash yarn theme={null}
yarn dlx extension@latest create my-extension --template=new-typescript
```
```bash bun theme={null}
bunx extension@latest create my-extension --template=new-typescript
```
```bash bun theme={null}
bunx extension@latest create my-extension --template=new-typescript
```
仓库:[extension-js/examples/new-typescript](https://github.com/extension-js/examples/tree/main/examples/new-typescript)
### `content-typescript`
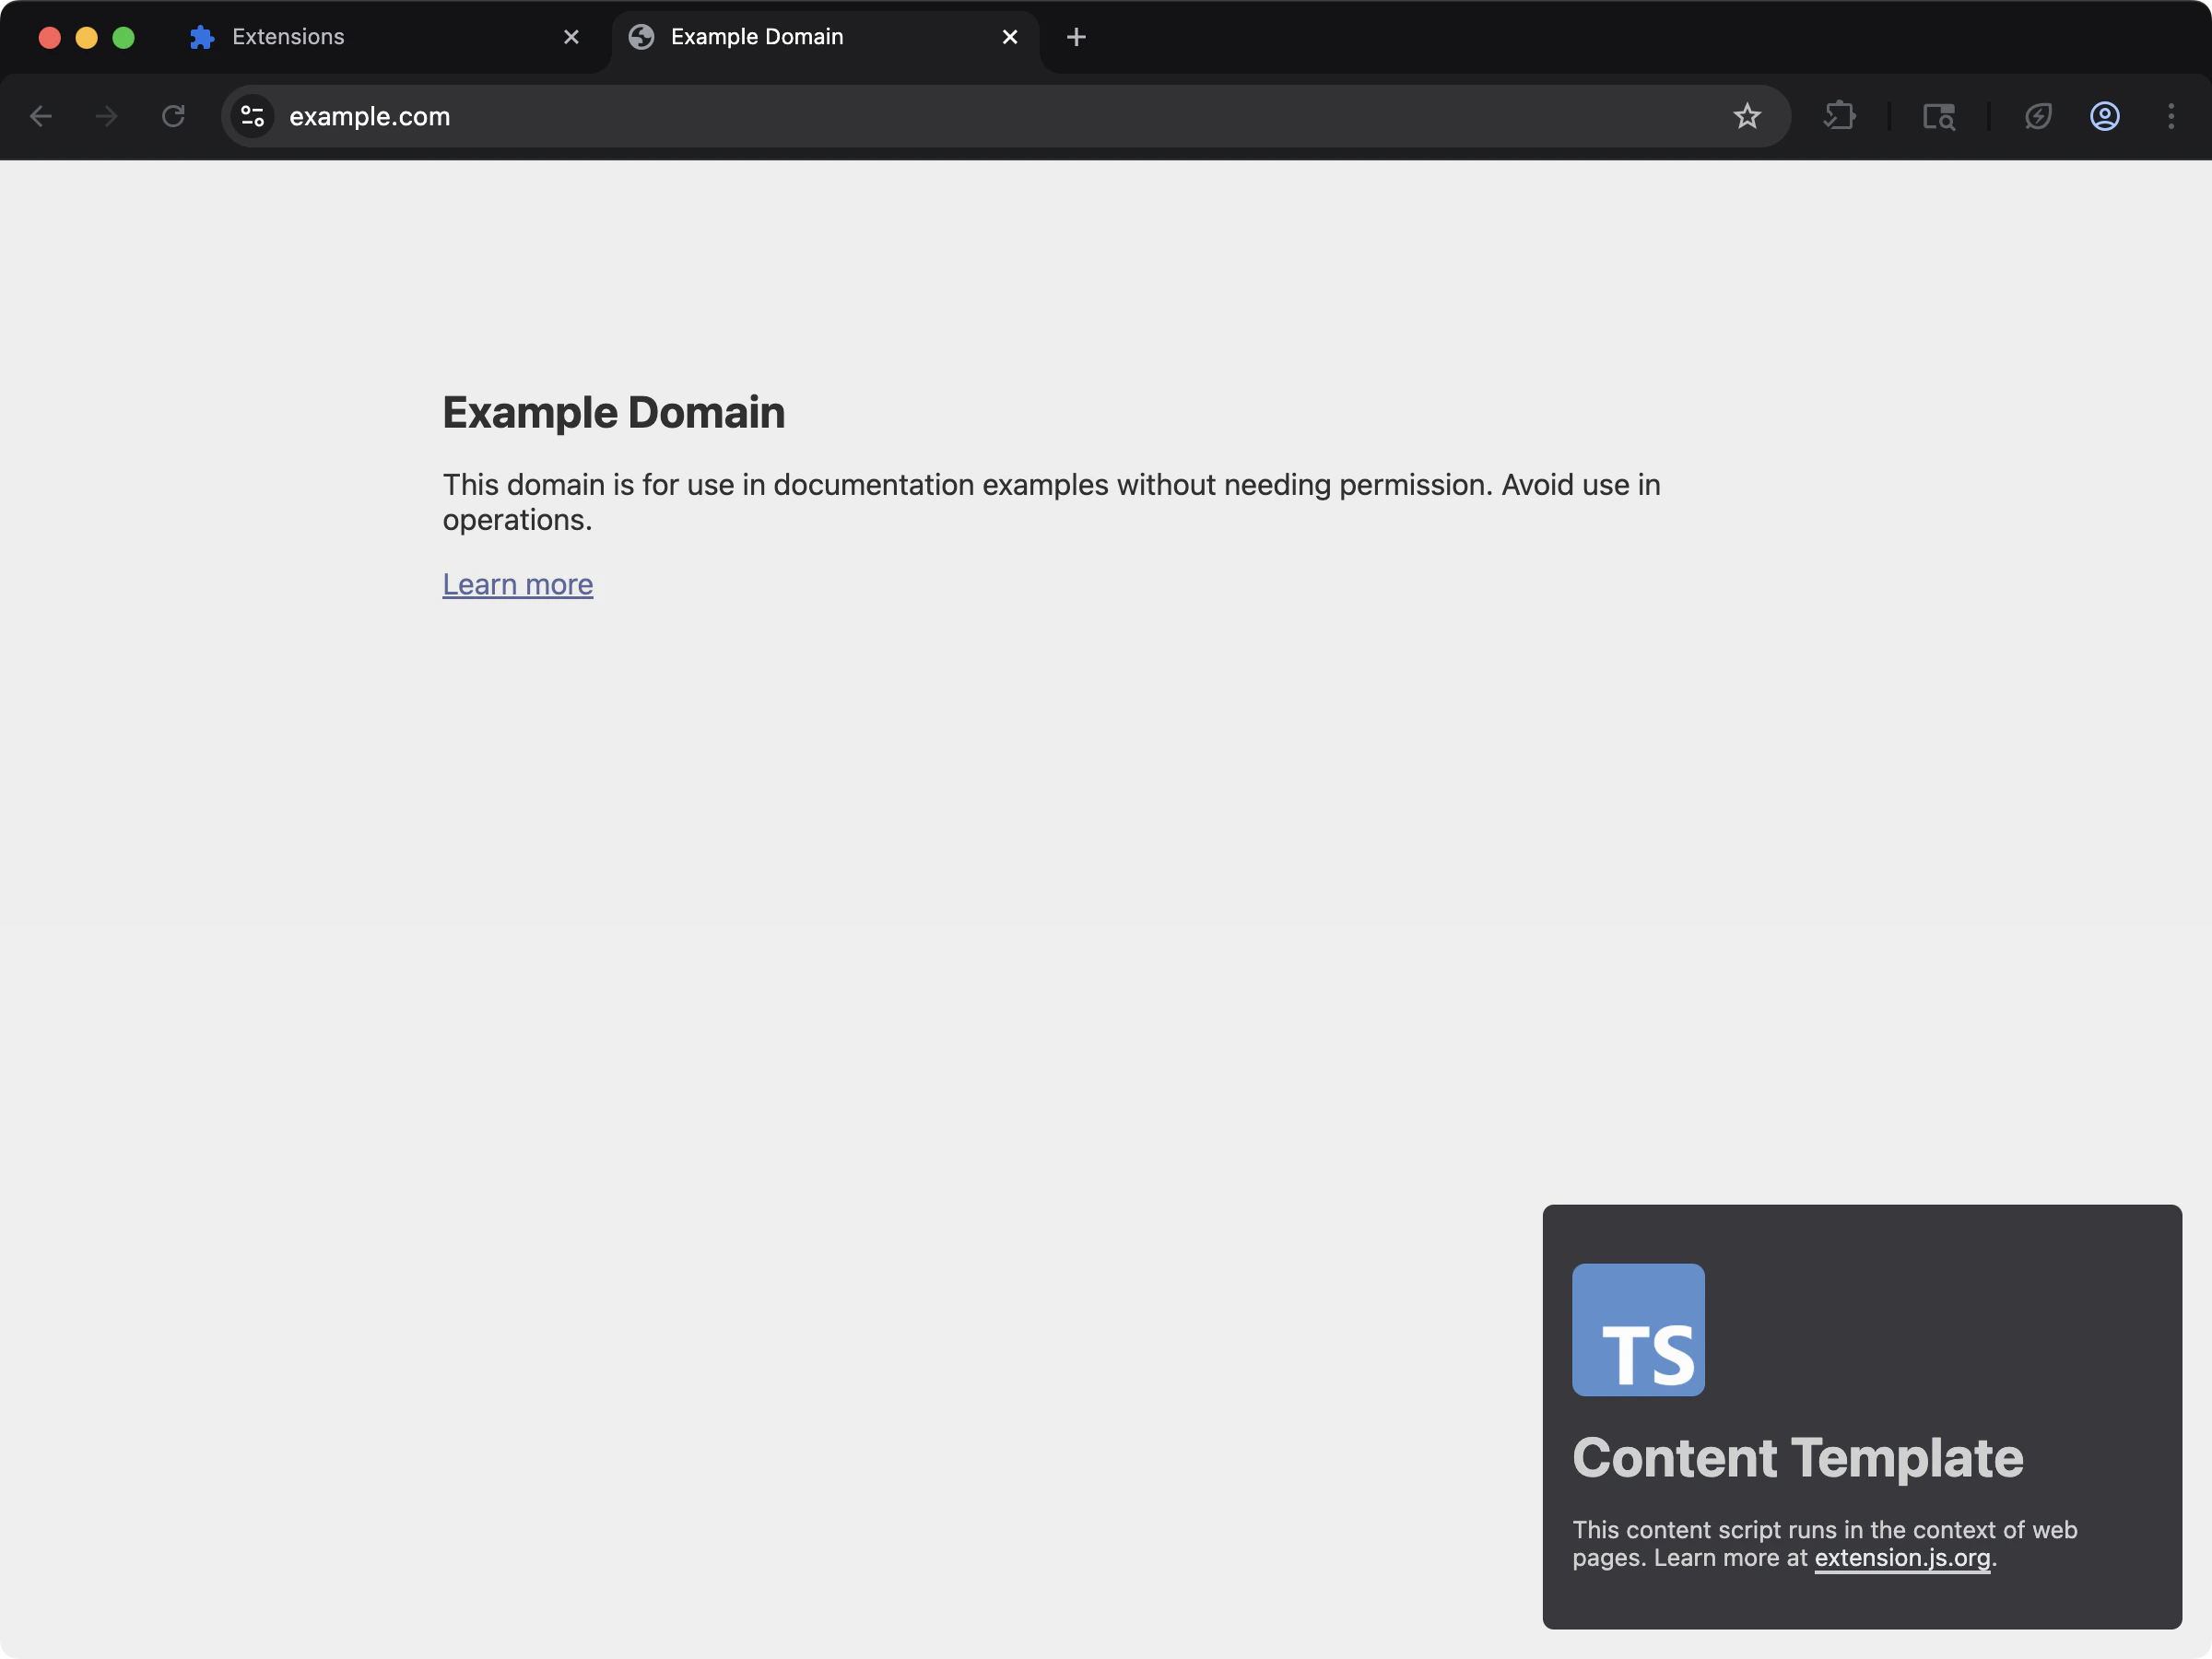 当依赖 Node 的库需要运行在页面注入流程中时,使用 content script 的 TypeScript 基础模板。
```bash npm theme={null}
npx extension@latest create my-extension --template=content-typescript
```
```bash pnpm theme={null}
pnpx extension@latest create my-extension --template=content-typescript
```
```bash yarn theme={null}
yarn dlx extension@latest create my-extension --template=content-typescript
```
```bash bun theme={null}
bunx extension@latest create my-extension --template=content-typescript
```
```bash bun theme={null}
bunx extension@latest create my-extension --template=content-typescript
```
仓库:[extension-js/examples/content-typescript](https://github.com/extension-js/examples/tree/main/examples/content-typescript)
### `new-crypto`
当依赖 Node 的库需要运行在页面注入流程中时,使用 content script 的 TypeScript 基础模板。
```bash npm theme={null}
npx extension@latest create my-extension --template=content-typescript
```
```bash pnpm theme={null}
pnpx extension@latest create my-extension --template=content-typescript
```
```bash yarn theme={null}
yarn dlx extension@latest create my-extension --template=content-typescript
```
```bash bun theme={null}
bunx extension@latest create my-extension --template=content-typescript
```
```bash bun theme={null}
bunx extension@latest create my-extension --template=content-typescript
```
仓库:[extension-js/examples/content-typescript](https://github.com/extension-js/examples/tree/main/examples/content-typescript)
### `new-crypto`
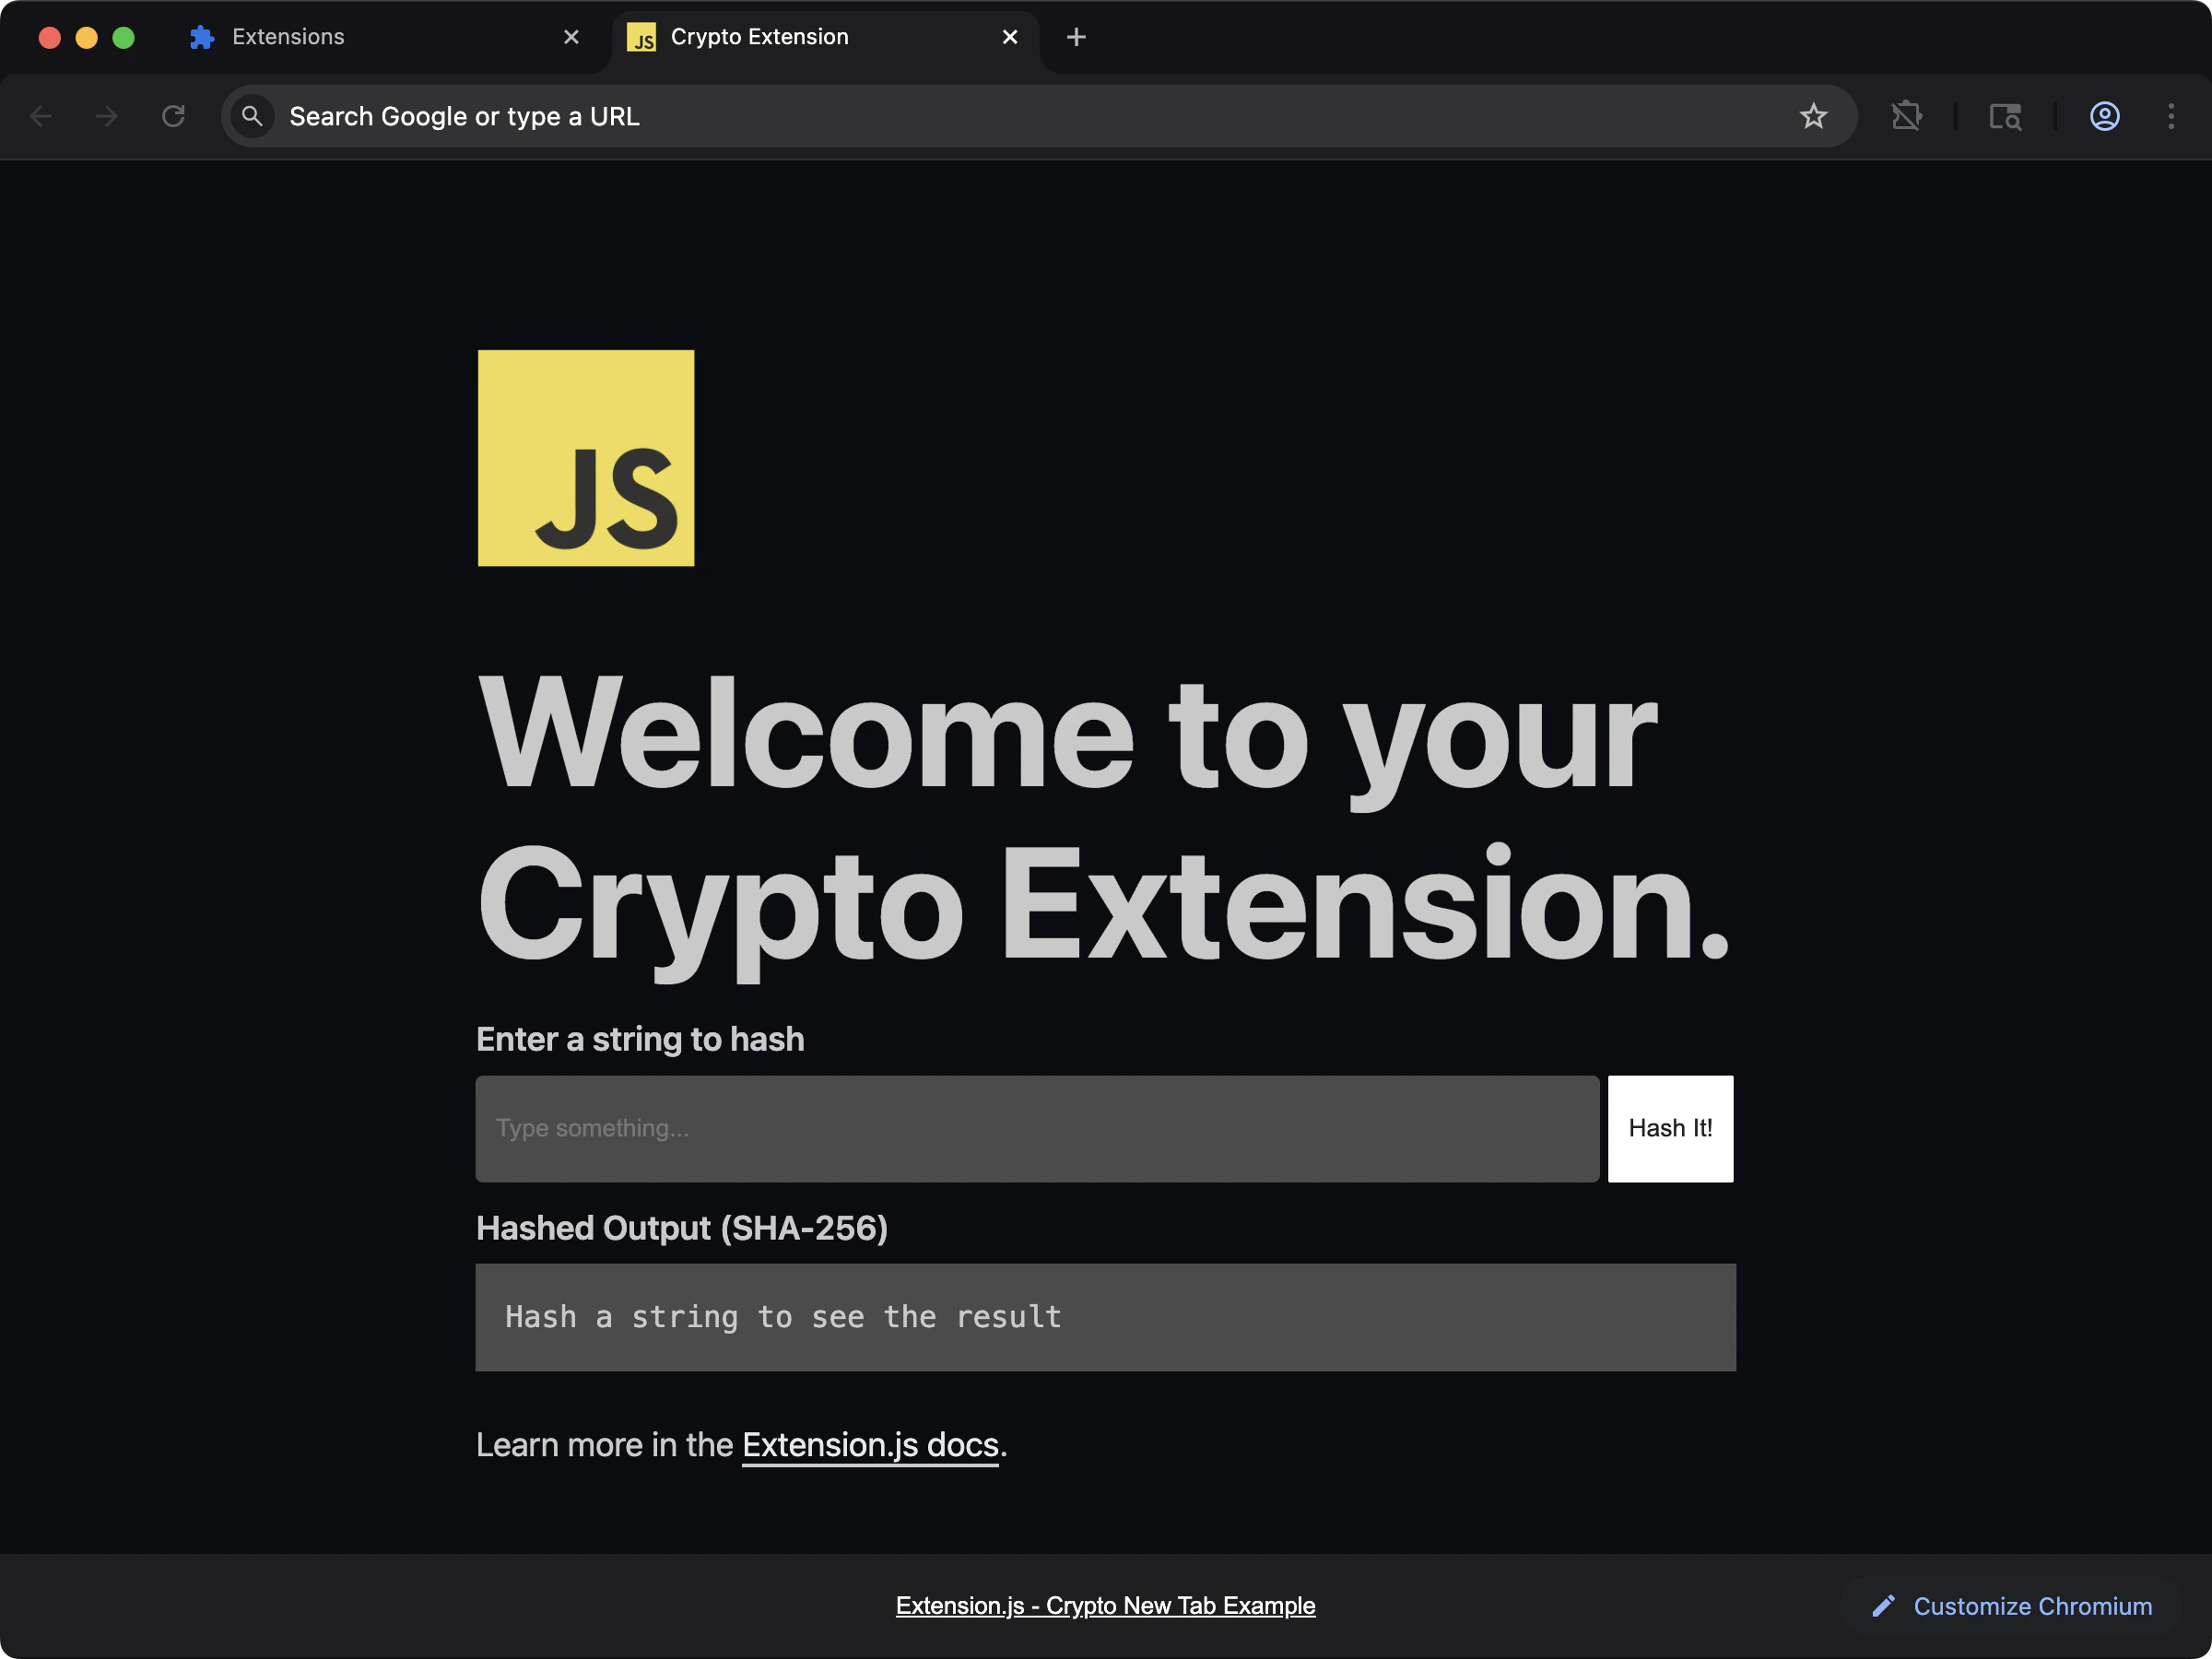 查看在新标签页扩展中如何使用 Node 的 `crypto` polyfill。
```bash npm theme={null}
npx extension@latest create my-extension --template=new-crypto
```
```bash pnpm theme={null}
pnpx extension@latest create my-extension --template=new-crypto
```
```bash yarn theme={null}
yarn dlx extension@latest create my-extension --template=new-crypto
```
```bash bun theme={null}
bunx extension@latest create my-extension --template=new-crypto
```
```bash bun theme={null}
bunx extension@latest create my-extension --template=new-crypto
```
仓库:[extension-js/examples/new-crypto](https://github.com/extension-js/examples/tree/main/examples/new-crypto)
## 默认行为
* 构建目标以浏览器优先(`web`)。
* 模块解析优先选用浏览器导出(`browser`、`module`、`main`)。
* Extension.js 默认禁用 Node 核心模块回退(例如 `crypto`、`path`、`fs`)。
这意味着除非你显式加上回退,否则导入 Node API 可能会失败。
## 设置 Node polyfill
使用 `extension.config.js`(或 `.mjs` / `.cjs`)扩展 Rspack 配置,并定义安全的回退。
```js theme={null}
import NodePolyfillPlugin from "node-polyfill-webpack-plugin";
import { createRequire } from "node:module";
const require = createRequire(import.meta.url);
export default {
config: (config) => {
config.resolve = config.resolve || {};
config.resolve.fallback = {
...(config.resolve.fallback || {}),
crypto: require.resolve("crypto-browserify"),
path: require.resolve("path-browserify"),
fs: false,
};
config.plugins = config.plugins || [];
config.plugins.push(new NodePolyfillPlugin());
return config;
},
};
```
## 安装可选的 polyfill 包
## 扩展 API 与 Node API
在 CLI/config 中设置 `polyfill: true` 会启用 `webextension-polyfill`——一个兼容层,让 Chromium 浏览器也能访问 `browser.*` API 命名空间。它不会启用 Node 核心模块的 polyfill。
仅在某些库无法使用标准 Web API 时才使用 Node polyfill。
## 注意事项
* 不要假设扩展运行时可以访问文件系统;除非你有特定的、对浏览器安全的策略,否则把 `fs` 保持为 `false`。
* 在可能的情况下,优先用 Web Crypto(`crypto.subtle`),而不是体积庞大的 Node crypto shim。
* Polyfill(Node API 的浏览器兼容替代品)会增大包体积,并可能影响扩展页面和 content script 的启动时间。
* 使用 `node:` 说明符的某些包,可能需要显式处理回退。
## 下一步
* 学习如何自定义 [Rspack 配置](/docs/features/rspack-configuration)。
* 了解如何管理[扩展配置](/docs/features/extension-configuration)。
## 视频讲解
查看在新标签页扩展中如何使用 Node 的 `crypto` polyfill。
```bash npm theme={null}
npx extension@latest create my-extension --template=new-crypto
```
```bash pnpm theme={null}
pnpx extension@latest create my-extension --template=new-crypto
```
```bash yarn theme={null}
yarn dlx extension@latest create my-extension --template=new-crypto
```
```bash bun theme={null}
bunx extension@latest create my-extension --template=new-crypto
```
```bash bun theme={null}
bunx extension@latest create my-extension --template=new-crypto
```
仓库:[extension-js/examples/new-crypto](https://github.com/extension-js/examples/tree/main/examples/new-crypto)
## 默认行为
* 构建目标以浏览器优先(`web`)。
* 模块解析优先选用浏览器导出(`browser`、`module`、`main`)。
* Extension.js 默认禁用 Node 核心模块回退(例如 `crypto`、`path`、`fs`)。
这意味着除非你显式加上回退,否则导入 Node API 可能会失败。
## 设置 Node polyfill
使用 `extension.config.js`(或 `.mjs` / `.cjs`)扩展 Rspack 配置,并定义安全的回退。
```js theme={null}
import NodePolyfillPlugin from "node-polyfill-webpack-plugin";
import { createRequire } from "node:module";
const require = createRequire(import.meta.url);
export default {
config: (config) => {
config.resolve = config.resolve || {};
config.resolve.fallback = {
...(config.resolve.fallback || {}),
crypto: require.resolve("crypto-browserify"),
path: require.resolve("path-browserify"),
fs: false,
};
config.plugins = config.plugins || [];
config.plugins.push(new NodePolyfillPlugin());
return config;
},
};
```
## 安装可选的 polyfill 包
## 扩展 API 与 Node API
在 CLI/config 中设置 `polyfill: true` 会启用 `webextension-polyfill`——一个兼容层,让 Chromium 浏览器也能访问 `browser.*` API 命名空间。它不会启用 Node 核心模块的 polyfill。
仅在某些库无法使用标准 Web API 时才使用 Node polyfill。
## 注意事项
* 不要假设扩展运行时可以访问文件系统;除非你有特定的、对浏览器安全的策略,否则把 `fs` 保持为 `false`。
* 在可能的情况下,优先用 Web Crypto(`crypto.subtle`),而不是体积庞大的 Node crypto shim。
* Polyfill(Node API 的浏览器兼容替代品)会增大包体积,并可能影响扩展页面和 content script 的启动时间。
* 使用 `node:` 说明符的某些包,可能需要显式处理回退。
## 下一步
* 学习如何自定义 [Rspack 配置](/docs/features/rspack-configuration)。
* 了解如何管理[扩展配置](/docs/features/extension-configuration)。
## 视频讲解